

One Down, One
to Go
Another Town
and One More Show…..
Those of you who are fans of eighties music will get that
reference.
This update is twofold; one fuel tank is finished and we
have pictures with a piece of leading edge skin to show the fuel filler neck
installation, and we have our first rib mold.
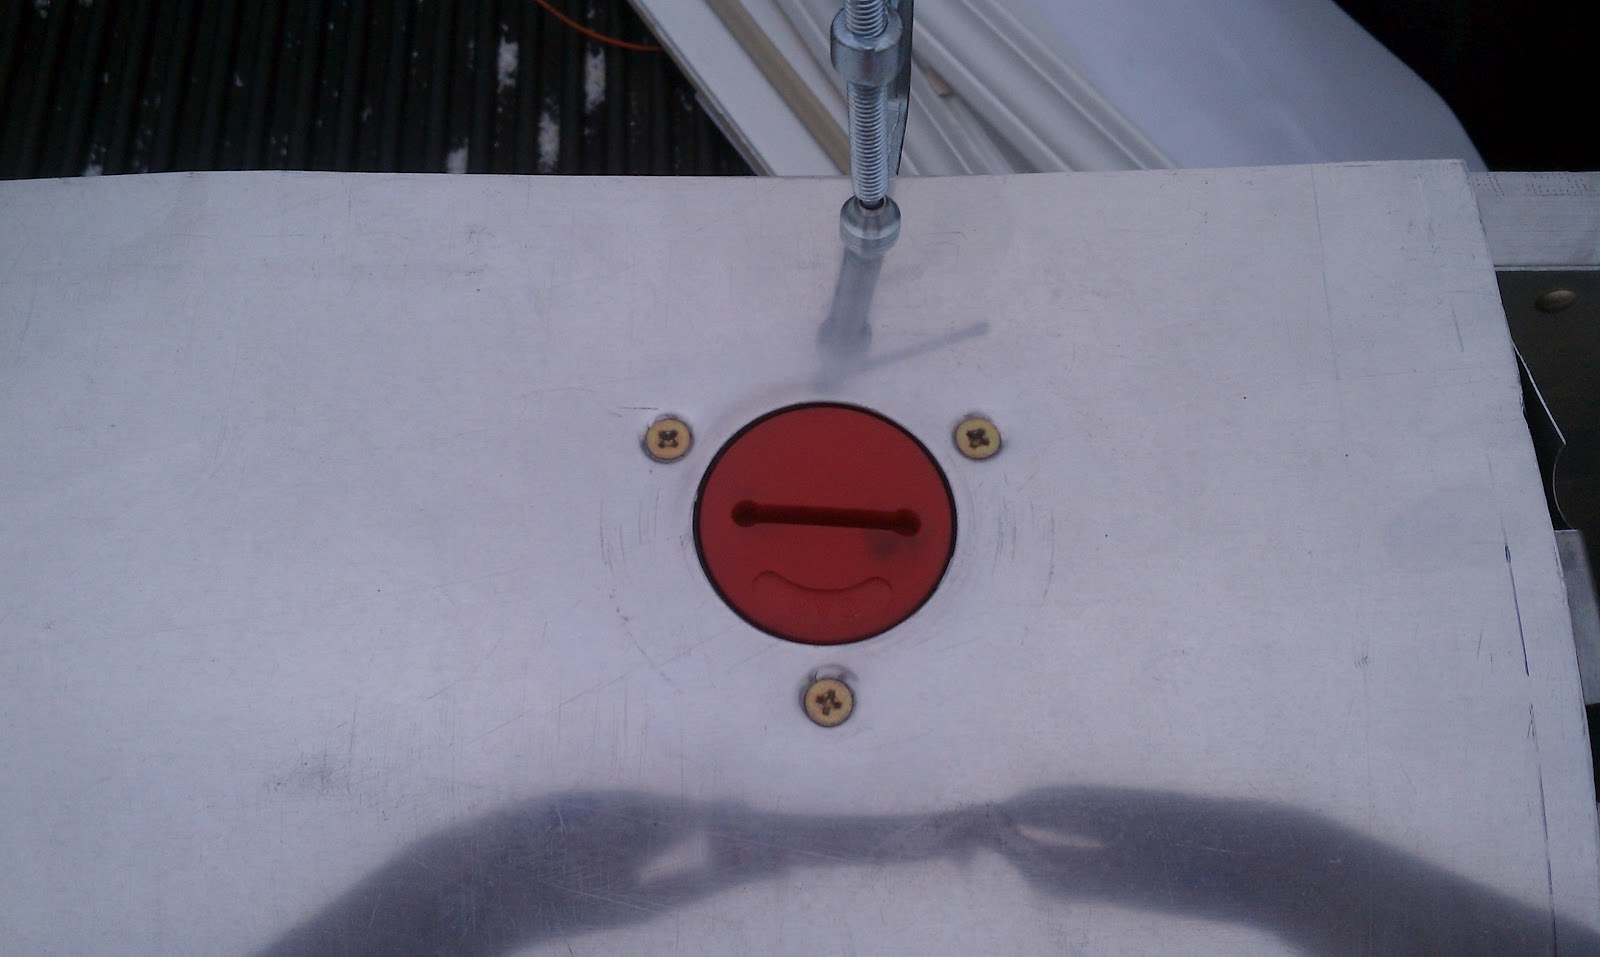
This first picture shows a top view of the fuel filler neck
we have selected. It is a glass filled nylon unit with a nice red screw on cap.
As you can see in the pictures it is fitted from beneath the leading edge skin
so just the filler cap is visible. It is a nice flush install; the cap is
domed and sticks up above the skin just slightly. All in all a fine
solution to the filler neck problem. These necks are lightweight and low cost,
all pluses in this application. If a customer wanted a polished leading edge we
can swap out the red cap with a polished stainless steel cap.

The next picture illustrates the filler neck installation from inside the D-Cell. The screws are obviously too long and will be replaced with stainless screws of the proper length at the final installation. The white corrugated tubing is nylon marine bilge pump tubing, really great stuff, gasoline resistant and flexible. The tubing is sealed to the filler neck with gas proof sealant and held in place with a screw (not visible in photo). This installation has been leak tested and everything is good to go.

The last pictures show a more detailed view of the gas tank construction than the last blog. The outboard cap has a nylon fitting installed for the filler neck and tubing to attach to.

The inboard picture shows the vent tubing and fitting at the top of the tank and the fuel outlet fitting, tubing, and primer pump/check valve with tubing going to the center cross-over and to the engine.

The following pictures show our beautiful new CNC cut rib mold. It is
1” HDPE machined to the rib profile. The second and third pictures show an original
Lazair rib fitted into the mold. It is a nice tight fit just like it should be.


The premise of the mold is to line the profile with aluminum
capstrips and cast the mold with 2 lb/cu ft rigid polyurethane expanding foam, let it set
up and pop the new rib out of the mold. The polyurethane foam will adhere to the
aluminum capstrip tenaciously, and the foam is chemical resistant (including gasoline) and
is considerably stronger than the original polystyrene (Styrofoam) ribs. This is a quick, easy way to make ribs and they will all be exactly the same each time. I’ll
do another post when we cast the first rib…stay tuned.
More Next Time,
Gene
Fltofancy@gmail.com